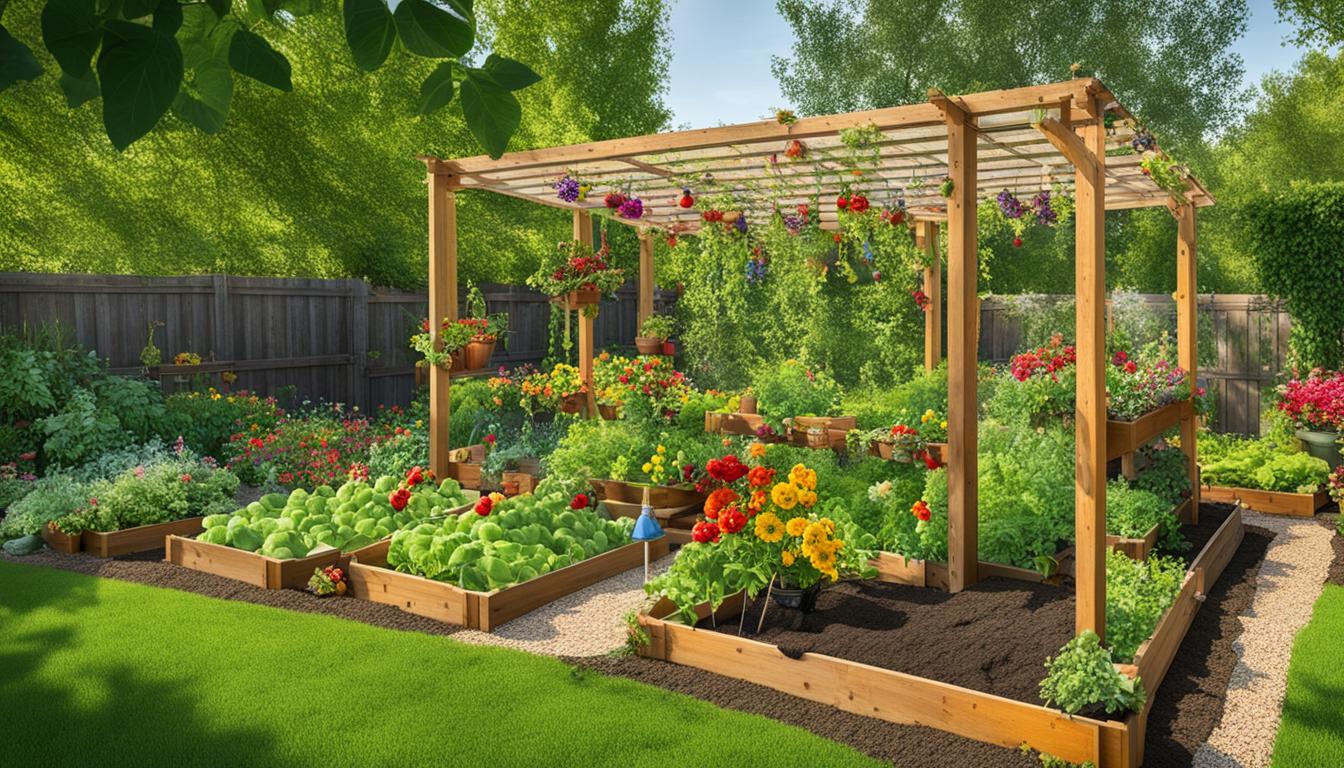
Hello, fellow gardening enthusiasts! Are you ready to take your harvest to the next level? In this article, I’ll share with you some genius hacks and techniques that will revolutionize your garden and maximize your yield. Whether you’re a seasoned gardener or just starting out, these tips will help optimize the productivity and efficiency of your garden, giving you impressive results in both quality and quantity of your harvest.
Imagine having an abundant garden full of thriving plants and bountiful harvests. With the right strategies in place, it’s not out of reach. So let’s dive into these innovative and proven techniques that will enhance your gardening experience and boost your yield.
Key Takeaways:
- Implementing these genius hacks and techniques can revolutionize your garden yield.
- Maximize productivity and efficiency in your garden with these proven strategies.
- Learn how to optimize the quality and quantity of your harvest with these hacks.
- Discover new ways to enhance your gardening experience and achieve impressive results.
- Take your gardening skills to the next level with these harvest maximization techniques.
Clever Plant-in-a-Pot Landscaping Design
Looking to transform the look and feel of your garden? Consider implementing a clever plant-in-a-pot landscaping design. This innovative approach allows you to easily change the layout and appearance of your garden while providing endless opportunities for experimentation and creativity.
To achieve this landscaping design, start by selecting pots of the same size and doubling them up. Nest one pot within another, leaving a small gap between the two. This creates a dynamic visual effect and adds depth to your garden.
By planting your favorite seasonal plants in these nested pots, you can easily replace them as the seasons change. Swap out vibrant summer blooms for rich autumn foliage or bright spring flowers. This design also allows you to experiment with different color schemes and plant placements, creating unique and eye-catching displays throughout your garden.
What’s even more exciting is that this plant-in-a-pot design isn’t limited to outdoor spaces. You can also bring a touch of nature indoors by using this technique. Placing potted plants strategically throughout your home adds a refreshing greenery and a sense of tranquility, regardless of the season.
This clever landscaping hack not only enhances the versatility of your garden but also maximizes the potential of your space. It allows for easy customization, ensuring your garden is always vibrant and on-trend.
Garden Design Tips:
- Choose pots of the same size to create a visually appealing nested effect.
- Select seasonal plants that thrive in your climate for successful growth and blooming.
- Experiment with different color combinations and plant arrangements to create unique displays.
- Consider incorporating different heights and textures to add depth and visual interest.
- Don’t limit this design to outdoor spaces; bring the beauty of nature indoors with potted plants.
With this plant-in-a-pot landscaping design, the possibilities are endless. So, unleash your creativity, embrace experimentation, and watch your garden thrive with vibrant blooms and stunning visual appeal.
Saving Soil with Old Cans
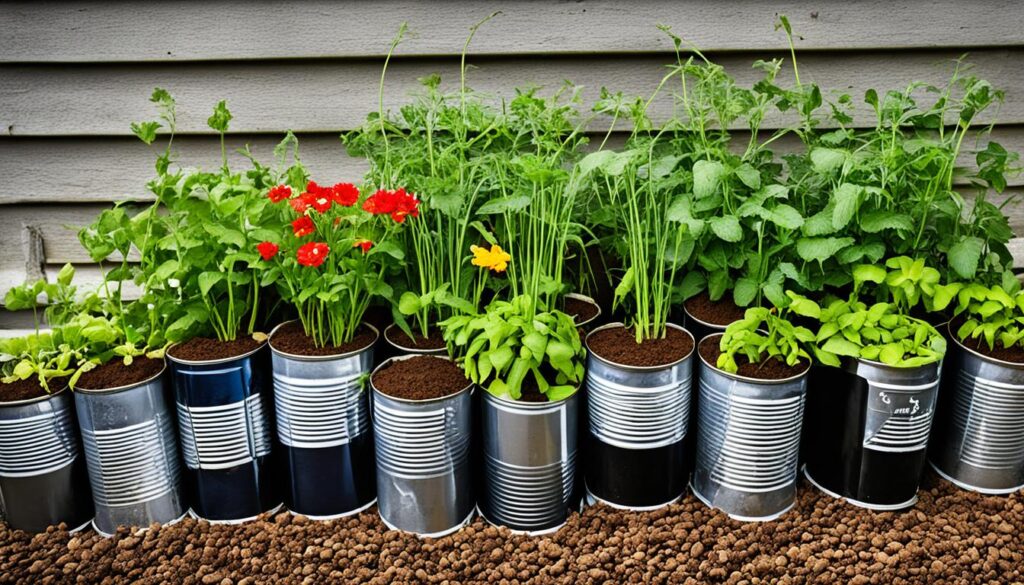
When it comes to gardening, soil conservation is essential for the long-term health and productivity of your plants. One simple yet effective technique to improve drainage and create healthier soil is by using old cans and plant pots.
By placing these items at the bottom of deep planters, you can achieve improved drainage and create air pockets for better aeration. This helps to prevent waterlogging and allows the roots to access oxygen, leading to healthier and more robust plants.
The use of old cans and plant pots serves as a cost-effective solution for conserving soil while enhancing the overall health of your plants. The empty space created by these containers not only supports drainage and aeration but also reduces the amount of soil required for filling the planter.
Improved Drainage
The presence of old cans and plant pots at the bottom of the planter ensures that excess water doesn’t accumulate around the roots. Instead, it provides an avenue for proper water flow, preventing waterlogging and minimizing the risk of root rot.
Healthier Soil
The improved drainage and aeration resulting from the use of old cans and plant pots contribute to the overall health of the soil. When the soil is well-drained and aerated, it allows for the absorption of nutrients, encourages microbial activity, and promotes root growth. As a result, your plants will thrive and yield better harvests.
So, the next time you’re setting up a deep planter, don’t discard those old cans and plant pots. Give them a second life by using them to conserve soil and create a healthier growing environment for your plants.
| Benefits of Using Old Cans and Plant Pots for Soil Conservation |
|---|
| – Improved drainage and reduced waterlogging |
| – Better aeration for healthier roots |
| – Cost-effective solution for conserving soil |
| – Reduced risk of root rot |
| – Enhanced nutrient absorption and microbial activity |
Easy Lawn Edging
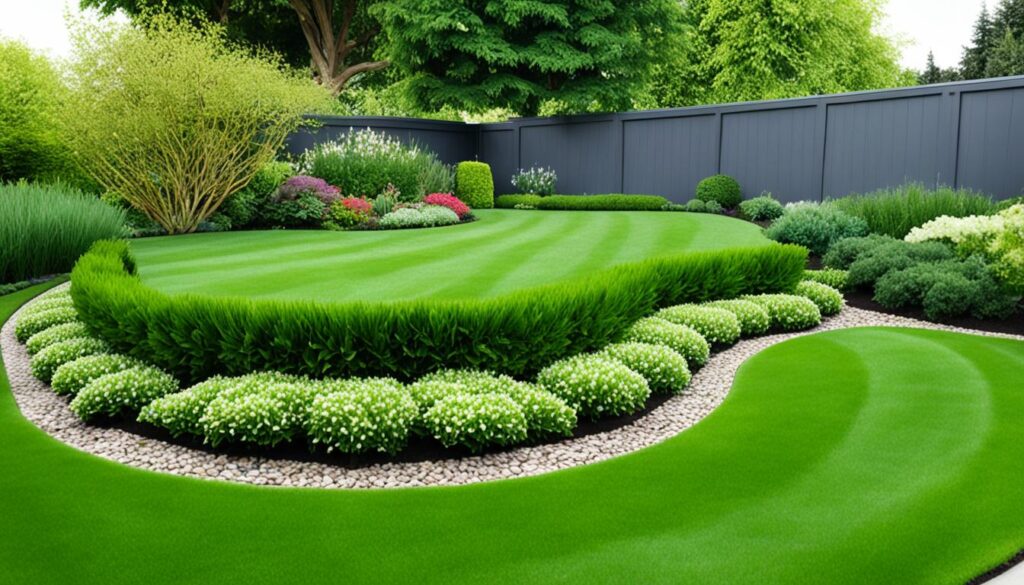
Creating a clean and straight edge for your lawn, garden, or flowerbed is essential for achieving a polished and well-maintained look. With the right lawn edging technique, you can easily achieve straight edges and clean lines that enhance the overall appearance of your garden.
One simple and effective lawn edging technique involves using a 2×6 board and a flat garden spade. Here’s how you can do it:
- Begin by positioning the 2×6 board along the edge where you want your lawn or garden bed to end.
- Press the board firmly into the ground, ensuring it is level and secure.
- Using a flat garden spade, drive the spade along the edge of the board, cutting through the grass or soil. This will create a clean and straight edge.
- Repeat this process along the entire length of the desired edge, maintaining a consistent depth and angle.
This lawn edging technique allows you to easily create defined boundaries between your lawn and garden, preventing grass from encroaching into your flowerbeds and giving your garden a professional and well-maintained look.
By implementing this simple lawn edging technique, you can achieve straight edges and clean lines that provide a visually pleasing contrast between your lawn and garden, giving your outdoor space a neat and organized appearance.
Micro Greenhouse for Seed Starting
Starting seeds or cuttings can be challenging, but I have discovered a brilliant hack that makes the process much easier. By using soda bottle mini greenhouses, you can create a controlled environment that promotes germination and rooting. Here’s how it works:
- Start by cutting off the bottom of a 2-liter soda bottle. This will serve as your mini greenhouse.
- Fill a seed tray or individual pots with potting soil.
- Plant your seeds or cuttings in the soil, following the recommended depth and spacing for each plant.
- Place the cut soda bottle over each seed or cutting, ensuring that it sits snugly in the soil.
- Secure the bottle by pushing it slightly into the soil, making sure it is stable.
- Water the soil thoroughly and place the mini greenhouses in a sunny location.
- Check the moisture level regularly and water as needed to keep the soil moist but not waterlogged.
- Once the seeds have germinated or the cuttings have rooted, you can remove the mini greenhouses.
This method offers several benefits. First, the mini greenhouses help in conserving moisture, ensuring that the soil stays adequately hydrated. They also retain heat, creating a warm and conducive environment for germination and rooting. Additionally, the clear plastic of the soda bottle allows for optimal sunlight exposure, promoting healthy growth.
Using soda bottle mini greenhouses is a simple and cost-effective way to improve your seed starting success. Give it a try and watch your plants thrive!
“Soda bottle mini greenhouses are a game-changer for seed starting. They provide the perfect balance of moisture, warmth, and light to promote healthy growth.” – Emily Reynolds, Gardening Enthusiast
| Benefits of Soda Bottle Mini Greenhouses |
|---|
| Conserves moisture |
| Retains heat |
| Optimal sunlight exposure |
Cardboard Seed Tubes for Easy Transplanting
Looking for an eco-friendly and cost-effective way to start your seeds? Say goodbye to plastic cups and embrace cardboard seed tubes made from toilet paper and paper towel tubes. These tubes not only reduce plastic waste but also provide a convenient solution for direct transplantation into your garden.
To create your cardboard seed tubes, simply cut the tubes into 2-inch lengths. Next, fill them with your preferred potting soil, creating a suitable environment for your seedlings to thrive.
When it’s time to transplant your seedlings, there’s no need to remove them from their cardboard tubes. The tubes will naturally decompose over time, allowing the plant roots to grow freely in the soil. This direct transplantation method minimizes transplant shock and promotes healthy root development.
One of the key advantages of using these cardboard seed tubes is moisture retention. The cardboard material helps to retain moisture and provides a steady water supply to the roots, ensuring your seedlings stay well-hydrated and nourished.
By using cardboard seed tubes, you not only contribute to eco-friendly seed starting practices but also simplify the transplanting process. Give it a try and enjoy the benefits of successful and sustainable gardening!
Efficient Fertilizer Application for Dense Plants
When it comes to delivering fertilizer to the base of dense plants like bushes, it can be quite a challenge. However, I have discovered a simple and effective solution using a 2″ PVC pipe. This technique allows for precise fertilizer application and ensures that the nutrients reach the plant’s base, promoting healthy growth and development.
To implement this method, all you need is a length of 2″ PVC pipe. Place one end of the pipe at the base of the plant, making sure it reaches the root zone. Then, you can easily pour the fertilizer through the pipe, directing it straight to where it’s needed the most.
For ease of use, I recommend cutting the top of the PVC pipe at a 45-degree angle to create an increased opening for pouring. This modification allows the fertilizer to flow smoothly and reduces the chances of spills or excess runoff.
By employing this fertilizer application technique, you can ensure optimum nutrient delivery to the plant’s base, contributing to its overall health and vitality. Additionally, this method facilitates efficient fertilization, preventing wastage and reducing the risk of damage to surrounding vegetation.
Try incorporating this innovative technique into your gardening routine and witness the remarkable difference it can make in the growth and development of your dense plants.
| Technique | Advantages |
|---|---|
| Traditional Surface Application |
|
| Foliar Spray |
|
| Deep Root Feeding |
|
| Efficient Fertilizer Application using 2″ PVC Pipe |
|
As you can see from the table above, the efficient fertilizer application technique using a 2″ PVC pipe provides unique advantages compared to other methods. It allows for targeted nutrient delivery while minimizing wastage and potential harm to surrounding plants. Give it a try and witness the impressive results in the health and growth of your dense plants!
Improved Plant Hydration with Sponge Inserts
To ensure optimal plant hydration and prevent root rot, I have discovered a simple yet effective solution: insert cut-up old sponges at the bottom of your pots. These sponges act as a water reserve, retaining moisture and creating the necessary air space for healthy root growth.
Water retention is crucial for maintaining the moisture levels in the soil. When watered, the sponges soak up excess moisture and release it slowly, preventing water from flushing out of the pots. This method helps keep the soil moist for a longer period, even during dry spells or when the plants require less frequent watering.
Using sponge inserts not only prevents root rot but also promotes healthier root development. The sponges create air pockets and improve soil drainage, allowing the roots to access oxygen and nutrients efficiently. With adequate moisture and proper ventilation, your plants will flourish and thrive.
Implementing this simple plant hydration hack can make a significant difference in the overall health and productivity of your garden. Keep your plants hydrated, healthy, and thriving with this easy and affordable solution.
Why Choose Sponge Inserts?
Using sponge inserts offers several advantages:
- Prevents root rot by retaining optimal moisture levels
- Improves soil drainage and aeration for healthier root development
- Sustains moisture during dry periods or when watering frequency decreases
- Cost-effective and environmentally friendly alternative
Give your plants the hydration they need for vibrant growth and flourishing gardens by incorporating sponge inserts into your potting routine.
| Sponge Inserts Benefits | How to Use Sponge Inserts |
|---|---|
| Maintain optimal moisture levels | 1. Cut old sponges into small pieces |
| Prevent root rot | 2. Place the cut-up sponge pieces at the bottom of the pots |
| Improve soil drainage and aeration | 3. Add potting soil on top of the sponge inserts |
| Sustain moisture during dry periods | 4. Plant your desired plants as usual |
“I’ve been using sponge inserts in my pots for years, and the results have been fantastic. My plants stay hydrated longer, and I no longer have to worry about root rot. It’s a simple yet effective solution that every gardener should try.” – Lisa Thompson, passionate gardener
Conclusion
In conclusion, the genius hacks and techniques discussed in this article are highly effective in optimizing garden yield and revolutionizing your harvest. By implementing clever landscaping designs, conserving soil with old cans, creating clean lawn edges, utilizing mini greenhouses and cardboard seed tubes, applying fertilizers efficiently, enhancing plant hydration, and employing other innovative hacks, you can significantly increase the productivity and efficiency of your garden.
These tried and tested methods have been proven to maximize garden yield, providing you with a bountiful harvest and transforming your gardening experience. Whether you’re a seasoned gardener or just starting out, these techniques will help you achieve outstanding results by leveraging simple yet effective strategies.
From the eco-friendly approach of using cardboard seed tubes to the utilization of mini greenhouses for optimal seed starting, these genius hacks offer practical solutions that are not only cost-effective but also environmentally friendly. By enhancing soil health, improving plant hydration, and applying fertilizers efficiently, you’ll ensure that your garden thrives and yields an abundance of healthy, vibrant produce.
Take your gardening to the next level with these genius hacks and witness the incredible difference in your garden yield. With a little effort and creativity, you can achieve remarkable results and enjoy the satisfaction of a flourishing and productive garden.
FAQ
What is a clever plant-in-a-pot landscaping design?
A plant-in-a-pot landscaping design involves nesting pots of the same size and planting your plants in doubled pots. This design allows for easy changes in the look and layout of your garden, as well as bringing plants indoors over the winter.
How can I improve drainage and create healthier soil in deep planters?
To improve drainage and create air pockets for better aeration, you can fill the bottom of deep planters with old cans and plant pots. This cost-effective solution conserves soil and improves overall plant health.
How can I create clean and straight edges in my garden?
You can create clean and straight edges in your lawn, garden, or flowerbed by using a simple lawn edging technique. Lay down a 2×6 board and drive a flat garden spade along the board’s edge to create straight lines.
What is a micro greenhouse and how can it help with seed starting?
A micro greenhouse is created by cutting the bottom off 2-liter soda bottles and using them as individual mini greenhouses for each seed. This method promotes germination and rooting, conserves moisture, retains heat, and allows for optimal sunlight exposure.
Can I use an eco-friendly alternative for starting seeds?
Yes, you can use cardboard seed tubes made from toilet paper and paper towel tubes instead of plastic cups. Cut the tubes into 2-inch lengths, fill them with potting soil, and directly transplant the seedlings along with the cardboard tube into the garden. The cardboard decomposes over time, retaining moisture and providing a steady water supply to the roots.
How can I efficiently apply fertilizer to dense plants?
For dense plants like bushes, you can use a length of 2″ PVC pipe to deliver fertilizer to the base of the plants. Place one end of the pipe at the base of the plant and pour the fertilizer through the pipe. Cutting the top of the pipe at a 45-degree angle allows for a larger opening, making it easier to pour in the fertilizer.
How can I improve plant hydration and prevent root rot?
To prevent root rot and ensure optimal plant hydration, you can insert cut-up old sponges at the bottom of the pots. The sponges act as a water reserve, retaining moisture and creating air space for healthy root growth.
How can I maximize my garden yield using these techniques?
By implementing these genius hacks and techniques, such as clever landscaping designs, soil conservation with old cans, clean lawn edging, micro greenhouses, cardboard seed tubes, efficient fertilizer application, improved plant hydration, and other hacks discussed, you can revolutionize your harvest and maximize your garden yield. These techniques are proven to be effective in optimizing garden productivity and efficiency.
