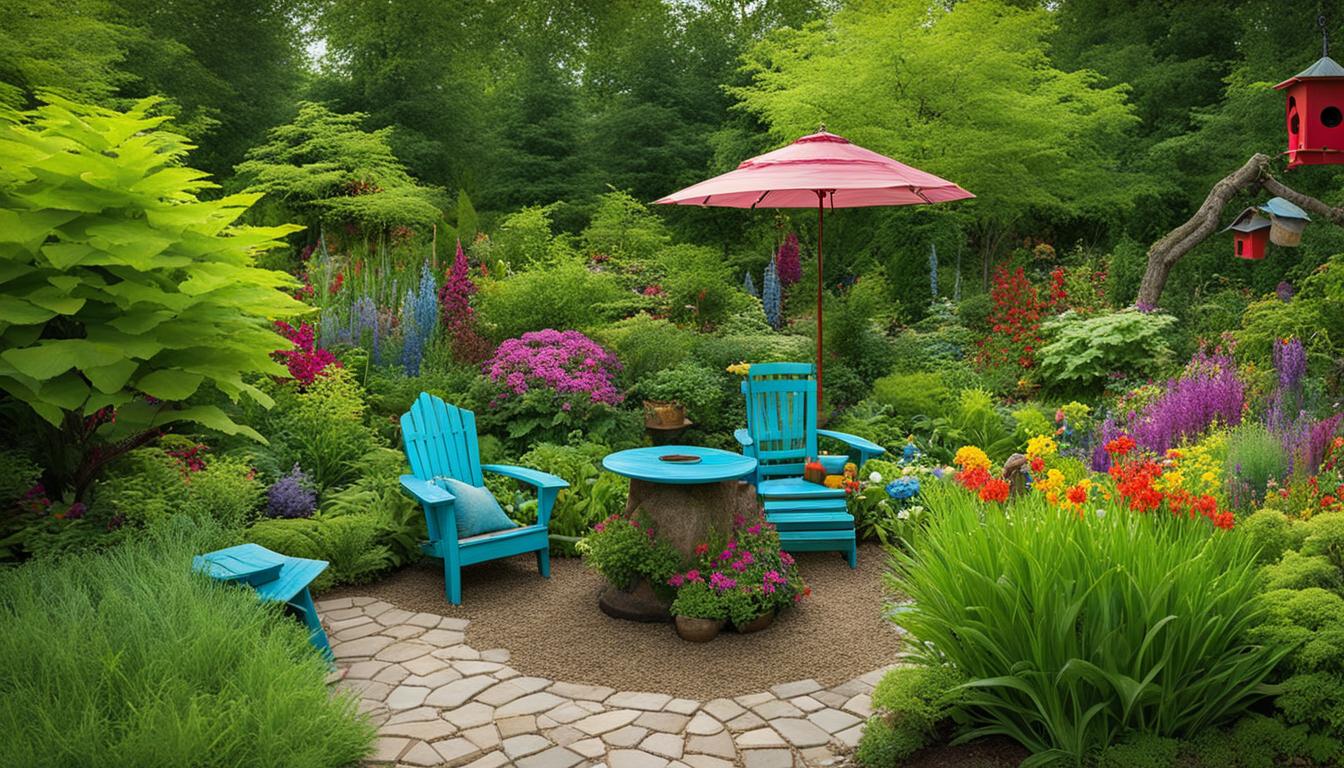
Gardens are not only spaces for plants to thrive; they’re also canvases for creativity and self-expression. With DIY garden art projects, you can turn your outdoor space into a masterpiece that reflects your personality and adds visual interest to your garden. Whether you’re a seasoned gardener or a weekend hobbyist, these accessible and enjoyable projects will inspire you to unleash your creativity and elevate your outdoor space to new heights.
Key Takeaways:
- DIY garden art projects allow you to personalize and beautify your outdoor space.
- These projects are suitable for both experienced gardeners and beginners.
- Transform your garden with a variety of crafts, from wind chimes to nature collages.
- Engage in creative activities that promote an appreciation for nature and sustainability.
- Add unique and whimsical touches to your garden with natural materials and artistic techniques.
Creative and Whimsical Wind Chimes
Make your garden sing with whimsical wind chimes. Enhance your outdoor space with unique and beautiful wind chimes that add a touch of music to the ambiance. By using natural materials like seashells, stones, and recycled objects, you can create one-of-a-kind DIY garden decor that brings harmony to your garden.
Creating your own wind chimes is a fun and rewarding outdoor craft project. Follow these simple steps:
- Collect a variety of materials such as sea glass, bamboo, shells, or even vintage utensils.
- Arrange the materials to create a visually appealing design.
- Attach the materials using twine, fishing line, or wire.
- Hang your wind chime in a location where it will catch the breeze.
- Enjoy the gentle melodies and soothing sounds as the wind dances through your garden.
With just a few materials and a little creativity, you can transform ordinary objects into whimsical wind chimes that not only provide aesthetic enjoyment but also contribute to the tranquil atmosphere of your outdoor space.
Let the gentle tinkling of your wind chimes create a peaceful ambiance in your garden.
Creative Wind Chime Ideas
For inspiration, consider the following creative wind chime ideas:
| Materials | Description |
|---|---|
| Sea Glass | Create a beachy vibe with colorful sea glass pieces. |
| Driftwood | Give your wind chime a rustic charm with weathered driftwood. |
| Tin Cans | Recycle tin cans and paint them in vibrant colors for a whimsical touch. |
| Keys | Repurpose old keys and hang them for a unique and rustic wind chime. |
Remember, the options are endless when it comes to DIY garden decor. Let your imagination take flight and create wind chimes that reflect your personal style and bring harmony to your outdoor space.
Continue reading to discover more creative DIY garden art projects that will turn your outdoor space into a masterpiece.
Enchanting Garden Markers
Add personality to your plant pals with enchanting garden markers. Whether you’re a seasoned gardener or just starting out, these DIY markers are a fun and creative way to identify your plants while adding a touch of whimsy to your garden. With a few simple materials, such as rocks, paint, and your imagination, you can create colorful and unique markers that will make your garden stand out.
Getting Creative with Garden Markers
Creating your own garden markers allows you to express your unique style while keeping your garden organized and easy to navigate. Not only do these markers add visual appeal, but they also serve a practical purpose by helping you identify different plant varieties. Whether you’re growing herbs, flowers, or vegetables, having clear plant labels is essential for proper care and maintenance.
“My garden markers add a touch of charm to my outdoor space while helping me keep track of my plants. They are a great conversation starter and make gardening even more enjoyable.” – Lucy, avid gardener
To make your own enchanting garden markers, follow these simple steps:
- Gather smooth and flat rocks from your garden or purchase them from a local store.
- Clean the rocks thoroughly, ensuring there are no dirt or debris.
- Use acrylic paint or paint markers to decorate the rocks with colorful designs, plant names, or creative artwork.
- Allow the paint to dry completely before adding a layer of clear sealant to protect your designs from the elements.
- Place the markers in your garden or potted plants, ensuring they are visible and easily readable.
Not only are these garden markers a practical solution for plant identification, but they also add a personal touch to your outdoor space. Let your creativity shine through as you design markers that reflect your unique style and taste.
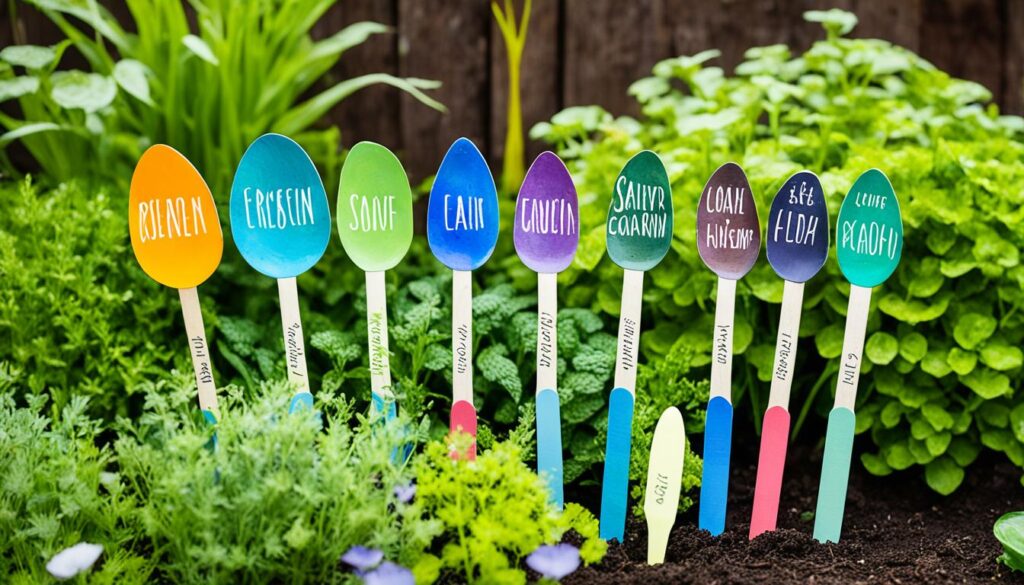
By creating enchanting garden markers, you can turn the task of plant identification into a delightful and artistic outdoor craft. Let your garden flourish with these DIY markers, adding beauty and organization to your outdoor oasis.
Magical Fairy Houses
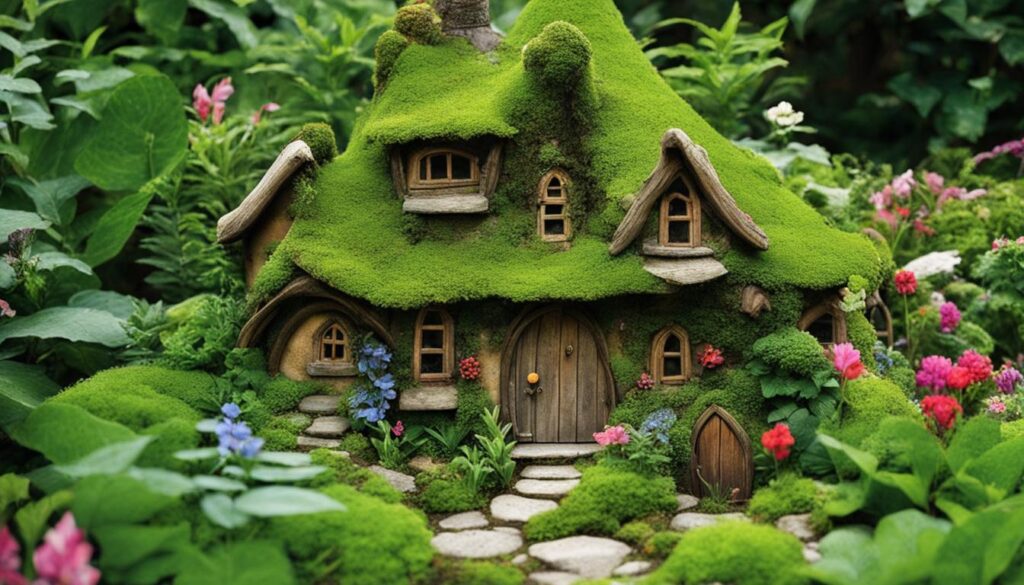
Spark imagination and creativity with magical fairy houses made from natural materials like twigs, leaves, and flowers. Construct intricate and whimsical houses that invite fairies into your garden. Promote outdoor exploration and appreciation for nature with this enchanting DIY project.
Creating DIY fairy houses is a wonderful way to add a touch of whimsy and charm to your outdoor space. By using natural materials found in your garden, you can bring these magical dwellings to life and create a whimsical world for fairies to visit. Let your imagination run wild as you design intricate houses that blend seamlessly into your garden.
Here are some steps to guide you in creating your own DIY fairy houses:
- Collect natural materials such as twigs, leaves, pinecones, and flowers from your garden.
- Use a strong and waterproof adhesive to assemble the materials into the shape of a house, creating walls, a roof, and even a door.
- Add decorative touches such as tiny pebbles for a pathway, colorful moss for a garden, and delicate flowers for a touch of elegance.
- Let your fairy house dry completely before placing it in your garden.
- Find a cozy spot in your garden to display your fairy house, ensuring it is protected from harsh weather conditions.
- Invite fairies to visit by leaving small trinkets or a welcoming note near the house.
Creating DIY fairy houses not only adds a playful and magical element to your outdoor space, but it also encourages outdoor exploration and appreciation for nature. Children and adults alike will be captivated by the whimsy of these enchanting creations.
So, gather your natural materials, let your creativity soar, and create your own magical fairy houses that will add a touch of wonder to your garden.
Nature Collages
Unleash your child’s creativity with DIY nature collages, an activity that combines the beauty of nature with artistic expression. By collecting leaves, pine cones, and other natural materials, kids can create stunning artwork that showcases the wonders of the outdoors.
“Nature is the ultimate inspiration for artistic expression.”
Encourage your child to explore their surroundings and gather a variety of materials in different colors, shapes, and sizes. Provide them with a large piece of paper or cardboard as a canvas for their collage creation.
Steps to create a nature collage:
- Start by arranging and organizing the natural materials into groups based on color or texture.
- Invite your child to think creatively and experiment with different compositions. They can overlap leaves, create patterns with pinecones, or even incorporate flowers for an extra touch of color.
- Encourage your child to use their imagination and let the materials guide their artistic expression. They can create a representation of their favorite outdoor scene, an abstract design, or anything that inspires them.
- Once the collage is complete, help your child secure the materials in place using glue or tape.
- Display the nature collage proudly in your home, showcasing your child’s artistic talent and their appreciation for the beauty of the natural world.
Creating nature collages not only nurtures artistic expression but also encourages kids to develop an appreciation for their environment. It teaches them about the colors and textures found in nature while allowing them to express themselves through art.
Let your child’s imagination and love for the outdoors take center stage with DIY nature collages. This outdoor craft is an excellent way for kids to connect with nature, express their creativity, and create stunning artwork that celebrates the beauty of the natural world.
Colorful Garden Art with Painted Rocks
Turn ordinary rocks into stunning garden decorations with a fun and creative DIY project: painted rocks. Let your imagination run wild as you transform these natural canvases into colorful pieces of art that will add a delightful touch to your garden.
Painted rocks are not only decorative but also versatile. You can use them to represent your favorite plants or even as labels for different areas of your garden. This not only adds charm to your outdoor space but also helps with plant identification and organization.
To get started with your DIY painted rocks, follow these simple steps:
- Collect smooth rocks of various sizes.
- Clean the rocks to remove any dirt or debris.
- Choose your favorite paint colors.
- Use a brush or paint markers to create unique designs on the rocks.
- Let the rocks dry completely.
- Place them strategically throughout your garden or use them as decorative accents in flower beds and planters.
Not only is painting rocks a fun and engaging activity, but it also offers a great opportunity to learn about different plant varieties. As you paint each rock, take the time to research and identify the plants they represent. This way, you’ll not only enjoy the process of creating beautiful garden art but also expand your knowledge of plant species.
To inspire you further, here’s a colorful example of how painted rocks can enhance your garden:
| Painted Rock | Description |
|---|---|
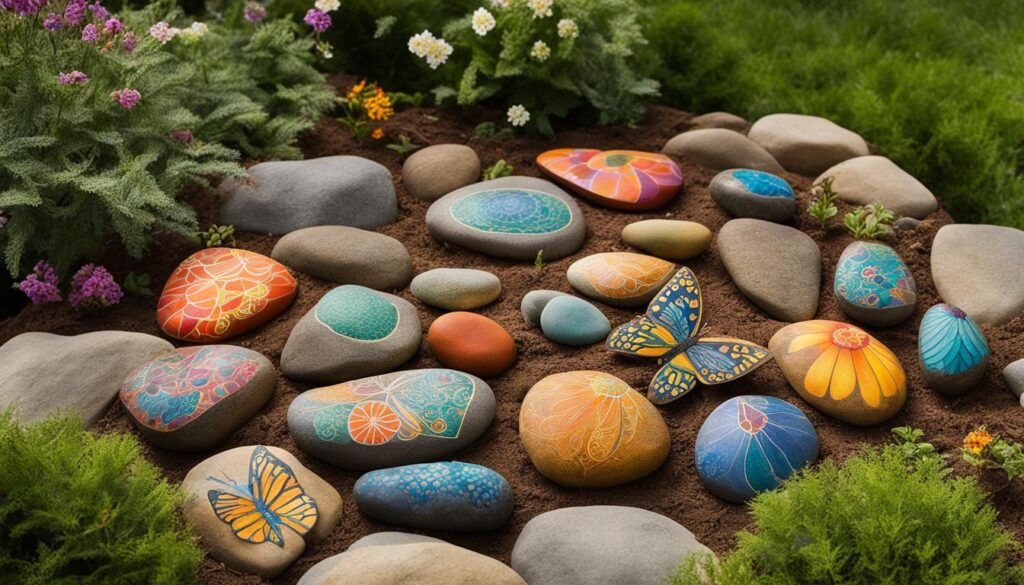 |
A brightly painted rock with vibrant floral designs, used as a garden marker for a bed of blooming flowers. |
Remember, the possibilities are endless when it comes to painting rocks. Whether you choose to create abstract patterns or intricate designs inspired by nature, this DIY project is a wonderful way to express your creativity and add a personal touch to your garden.
Nature-Inspired Photo Frames
I love capturing outdoor memories and what better way to display them than in nature-inspired photo frames? With just some twigs and glue, you can create rustic and charming frames that add a touch of the outdoors to your favorite photos.
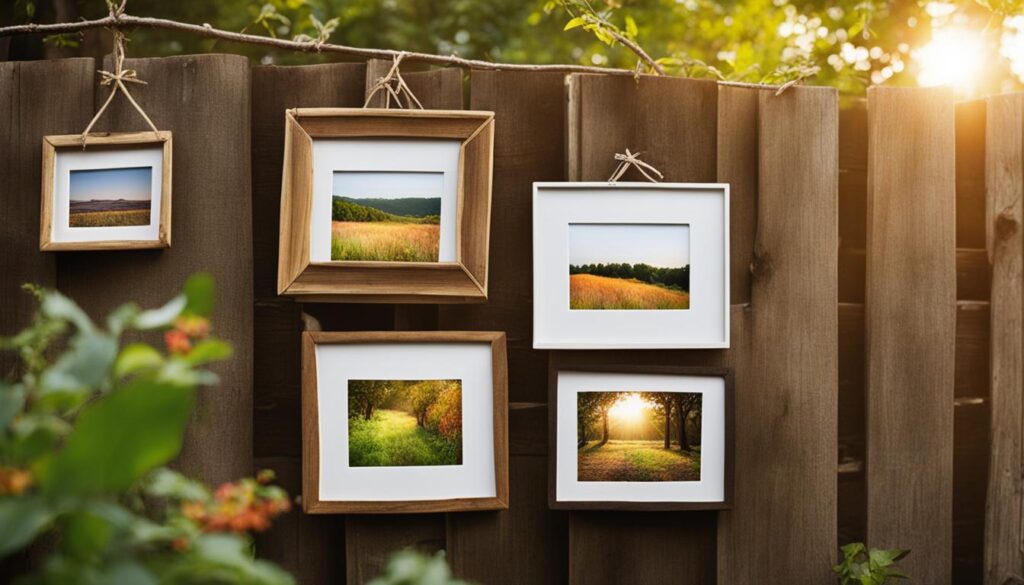
Using natural materials not only promotes the use of sustainable resources but also encourages kids to connect with nature while getting creative. It’s a wonderful outdoor craft that allows them to make personalized keepsakes that showcase their love for the great outdoors.
“By incorporating natural elements into photo frames, we bring the beauty of nature indoors and create a visual reminder of the memories we’ve made outdoors.”
Here’s how you can create your own nature-inspired photo frames:
- Gather twigs of various sizes and shapes, ensuring they are dry and sturdy.
- Using a pair of garden shears or scissors, trim the twigs to the desired length for your frame.
- Arrange the twigs in a square or rectangular shape, overlapping them slightly at the corners.
- Apply a small amount of craft glue to each joint where the twigs meet, pressing them firmly together.
- Allow the glue to dry completely before handling the frame.
- Insert your favorite outdoor photo into the frame, securing it with tape or small clips if necessary.
- Display your nature-inspired photo frame in your home or gift it to a loved one to cherish their outdoor memories.
These DIY photo frames are not only a fun and easy craft, but they also add a touch of natural beauty to any space. So, grab some twigs, get creative, and let your outdoor memories shine!
Appreciating Nature with a Journal
One of the most fulfilling ways to connect with nature is through nature journaling. By observing and documenting the natural world around us, we not only enhance our artistic expression but also foster a deeper appreciation for the beauty and intricacies of nature.
With a nature journal, children can embark on a journey of discovery, using their writing and artistic skills to capture their observations and experiences. Whether it’s the vibrant colors of a blooming flower or the gentle rustle of leaves in the wind, a nature journal allows them to celebrate the wonders of the natural world in a personal and meaningful way.
Encouraging children to keep a nature journal is an excellent way to promote their connection with the environment. It helps them build a stronger bond with nature, fostering a sense of curiosity and wonder. By engaging in observation and reflection, they develop a heightened awareness of the world around them and take on the role of a steward, feeling a sense of responsibility towards protecting and preserving our precious planet.
“In every walk with nature, one receives far more than he seeks.” – John Muir
Through their journal, children can record the changes they witness throughout the seasons, learn about different species of plants and animals, and express their emotions and thoughts. It becomes a personal gallery of memories, a treasure trove of inspiration, and a testament to their growing understanding and connection with the natural world.
Benefits of Nature Journaling:
- Enhances observation skills
- Fosters creative and artistic expression
- Promotes mindfulness and appreciation for the present moment
- Encourages exploration and curiosity
- Builds a deeper connection with nature
- Develops a sense of environmental responsibility
When children engage in nature journaling, they not only develop their artistic abilities and observation skills but also learn to slow down and truly immerse themselves in the wonders of the natural world. It’s a journey of self-discovery, curiosity, and inspiration that will stay with them for a lifetime.
| Tips for Nature Journaling | Benefits |
|---|---|
| 1. Carry your nature journal and a pencil wherever you go | Always be prepared to capture your observations and ideas |
| 2. Explore different artistic techniques | Experiment with watercolors, pencil sketches, and collages to add depth and creativity to your journal |
| 3. Observe carefully and record details | Take note of colors, textures, sounds, and smells to create a vivid representation of your experiences |
| 4. Incorporate scientific information | Research and include interesting facts about the species you observe to expand your knowledge |
| 5. Take time to reflect | Use your journal as a platform for personal reflection and contemplation about your relationship with nature |
So grab a notebook, find a quiet spot amidst nature’s embrace, and let the beauty and inspiration of the natural world fill the pages of your nature journal. Adventure awaits, and your creativity knows no bounds.
Temporary Art with Sidewalk Chalk
Looking for a fun and creative way to beat the heat while letting your artistic expression run wild? Try DIY sidewalk chalk art! Not only is it a fantastic outdoor play activity for kids, but it also allows you to unleash your creativity and decorate your sidewalks, driveways, or even rocks with beautiful and colorful designs.
To create vibrant sidewalk chalk art, all you need is some sidewalk chalk, a paintbrush, and water. Begin by selecting your favorite colors of sidewalk chalk and gently rubbing them onto the desired surface. Once you’ve laid down your chalk base, use a paintbrush and dip it in water to brush over the chalk, creating a watercolor-like effect. Experiment with different brushstrokes, shading, and blending techniques to bring your artwork to life.
This temporary art form is not only a great way to spend time outdoors, but it also encourages artistic expression and allows you to showcase your talent to the neighborhood. Whether you’re drawing colorful mandalas, vibrant landscapes, or inspiring quotes, sidewalk chalk art is a versatile medium that lets you embrace your creativity with each stroke.
Next time you’re looking for engaging outdoor play or a way to enhance your outdoor space with a touch of artistic flair, grab some sidewalk chalk and let your imagination soar. From imaginative creatures and hopscotch designs to intricate patterns and masterful illustrations, the possibilities for DIY sidewalk chalk art are endless.
So, get outside, grab your chalk, and become a sidewalk artist. The world is your canvas, and the joy of creating temporary art will surely brighten up your outdoor space.
Building Outdoor Forts
When it comes to outdoor play for kids, few things spark the imagination and promote teamwork like building outdoor forts. Using natural materials such as branches, leaves, and rocks, children can create their own magical fortresses right in their backyard.
Building forts not only provides a fun and exciting play experience, but also offers numerous educational and developmental benefits. It encourages problem-solving skills as kids figure out how to construct their fort using the available materials. It fosters creativity as they design and decorate their fort, transforming it into a personalized space for imaginative play. And let’s not forget the sense of accomplishment and pride that comes with successfully completing a fort.
Outdoor forts also serve as a wonderful retreat for kids to engage in creative adventures. From playing make-believe to hosting secret meetings, the possibilities are endless. They provide a safe and stimulating environment where children can explore their surroundings, create their own stories, and develop important social and communication skills through cooperative play.
So, grab some branches, gather leaves, and collect rocks to embark on the DIY outdoor fort adventure. Watch as your children’s imaginations soar and their playtime becomes an enriching experience in the great outdoors.
Benefits of Building Outdoor Forts:
- Promotes imagination and creativity
- Encourages teamwork and cooperative play
- Develops problem-solving skills
- Provides a sense of accomplishment
- Offers a safe and stimulating environment for outdoor play
“Building forts with natural materials allows children to connect with nature and experience the joy of creative play.” – Parenting Expert
Materials for Building Outdoor Forts:
| Material | Description |
|---|---|
| Branches | Sturdy and flexible branches for the framework and structure of the fort |
| Leaves | Natural camouflage and decorations for the fort |
| Rocks | Building blocks for pathways, walls, and additional fort features |
| Fabric | Optional fabric for a roof or walls to provide shade and shelter |
| Decorative items | Personalize the fort with nature-inspired decorations like flowers, pinecones, and feathers |
With these natural materials, kids can unleash their creativity and construct their own unique outdoor forts. They can experiment with different designs, layouts, and fort sizes to suit their imagination and available space.
Exploring Color with Natural Dyes
Discover the fascinating world of color and unleash your creativity with DIY natural dyes. By using flower petals and other natural materials, you can create vibrant and eco-friendly artwork while learning about the science of color. This hands-on activity allows you to explore different dyeing techniques and experiment with various shades and hues.
The Science of Color
Color is more than meets the eye. It is the result of light reflecting off objects and being interpreted by our brains. Understanding the science of color can deepen our appreciation for the world around us. When creating natural dyes, different flowers have unique pigment compositions that produce a range of colors. By extracting these pigments and applying them to different materials, we can observe firsthand how colors interact and blend.
“Colors are the smiles of nature.” – Leigh Hunt
Creating Eco-Friendly Artwork
With DIY natural dyes, you can create artworks that are not only visually stunning but also eco-friendly. Unlike synthetic dyes, natural dyes are derived from renewable resources and produce minimal environmental impact. By using plant-based materials, you can reduce your carbon footprint and promote sustainable art practices.
Exploring Different Dyeing Techniques
There are various techniques you can experiment with when dyeing your artwork with natural dyes. Some popular methods include immersion dyeing, where the material is fully submerged in the dye bath, and tie-dyeing, where the fabric is folded, twisted, or bound before being dyed. Each technique offers unique opportunities to create captivating patterns and designs.
Sample Table: Natural Dye Colors
| Natural Material | Color Extracted |
|---|---|
| Red Roses | Red |
| Marigold Flowers | Yellow |
| Lavender | Purple |
| Spinach | Green |
| Blueberries | Blue |
By experimenting with different natural materials, you can expand your color palette and create captivating artworks that reflect the beauty of nature.
Explore the world of DIY natural dyes and unlock the endless possibilities of creating eco-friendly artwork with vibrant colors. Whether you’re dyeing fabrics, painting with natural pigments, or experimenting with mixed media, this sustainable art practice allows you to connect with nature while expressing your artistic vision.
Conclusion
Unleash your creativity and transform your outdoor space into a masterpiece with DIY garden art projects. With a wide range of ideas, from wind chimes and garden markers to fairy houses and nature collages, you can add a personal touch to your garden and create outdoor masterpieces that reflect your unique style.
Embrace the beauty of nature and let your imagination bloom as you delve into these creative projects. Build whimsical wind chimes using seashells, stones, and recycled objects to bring delightful melodies to your garden. Design enchanting garden markers with rocks and paint, adding both color and organization to your plants. Create magical fairy houses with natural materials like twigs, leaves, and flowers, inviting fairies to roam through your garden. And don’t forget to make nature collages with your kids, using collected leaves and pine cones to showcase the beauty of the outdoors.
These DIY garden art projects not only allow you to unleash your creativity, but they also provide opportunities for family bonding, hands-on learning, and a deeper appreciation for the natural world. Encourage imaginative play and artistic expression while transforming your outdoor space into an oasis of beauty and inspiration.
FAQ
What are DIY garden art projects?
DIY garden art projects are creative and artistic crafts that can be done to enhance the outdoor space. These projects allow individuals to add a personal touch to their gardens by making unique and beautiful decorations using various materials.
How can I turn my outdoor space into a masterpiece?
You can turn your outdoor space into a masterpiece by incorporating DIY garden art projects. These projects can include wind chimes, garden markers, fairy houses, nature collages, and more. By adding these artistic elements, you can create a visually appealing and personalized outdoor environment.
What are some garden art ideas?
Some garden art ideas include creating wind chimes, making garden markers, building fairy houses, crafting nature collages, painting rocks for garden decorations, making nature-inspired photo frames, nature journaling, creating temporary art with sidewalk chalk, building outdoor forts, and exploring natural dyes.
How can I make DIY garden crafts?
Making DIY garden crafts is accessible and enjoyable for both avid gardeners and weekend warriors. These crafts can be made using various materials such as natural objects, rocks, twigs, leaves, and flowers. By following simple steps and letting your creativity flow, you can create beautiful and unique pieces of art for your outdoor space.
What are some creative outdoor projects?
Some creative outdoor projects include making wind chimes, garden markers, fairy houses, nature collages, painted rocks, nature-inspired photo frames, nature journaling, sidewalk chalk art, building outdoor forts, and exploring natural dyes. These projects allow individuals to engage in artistic expression while enjoying the beauty of the outdoors.
How can DIY garden art inspire me?
DIY garden art projects can inspire you by allowing you to tap into your creativity and imagination. These projects provide an opportunity to unleash your artistic side while beautifying your outdoor space. Creating unique and personalized pieces can also give you a sense of accomplishment and satisfaction.

